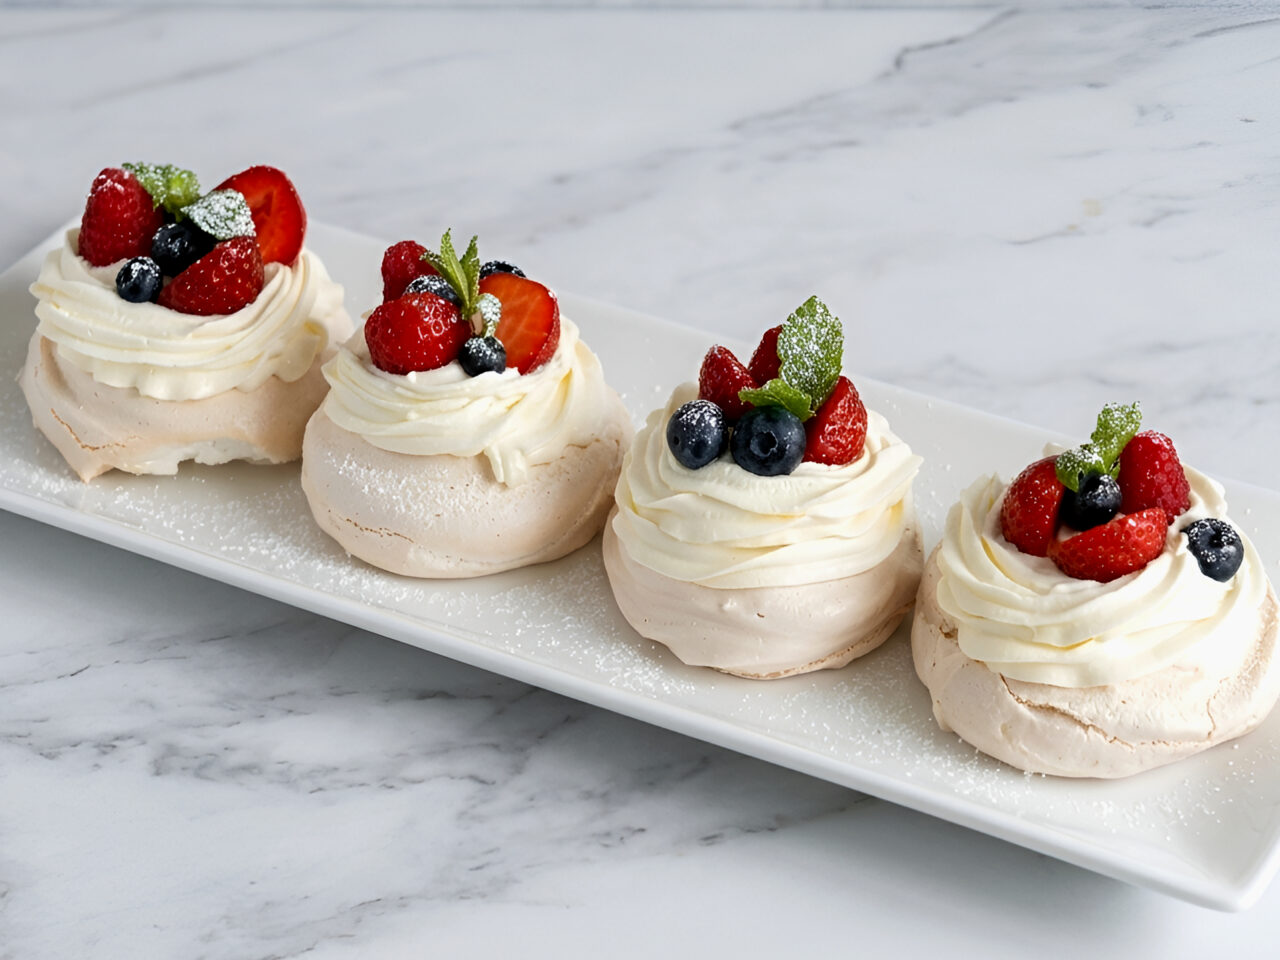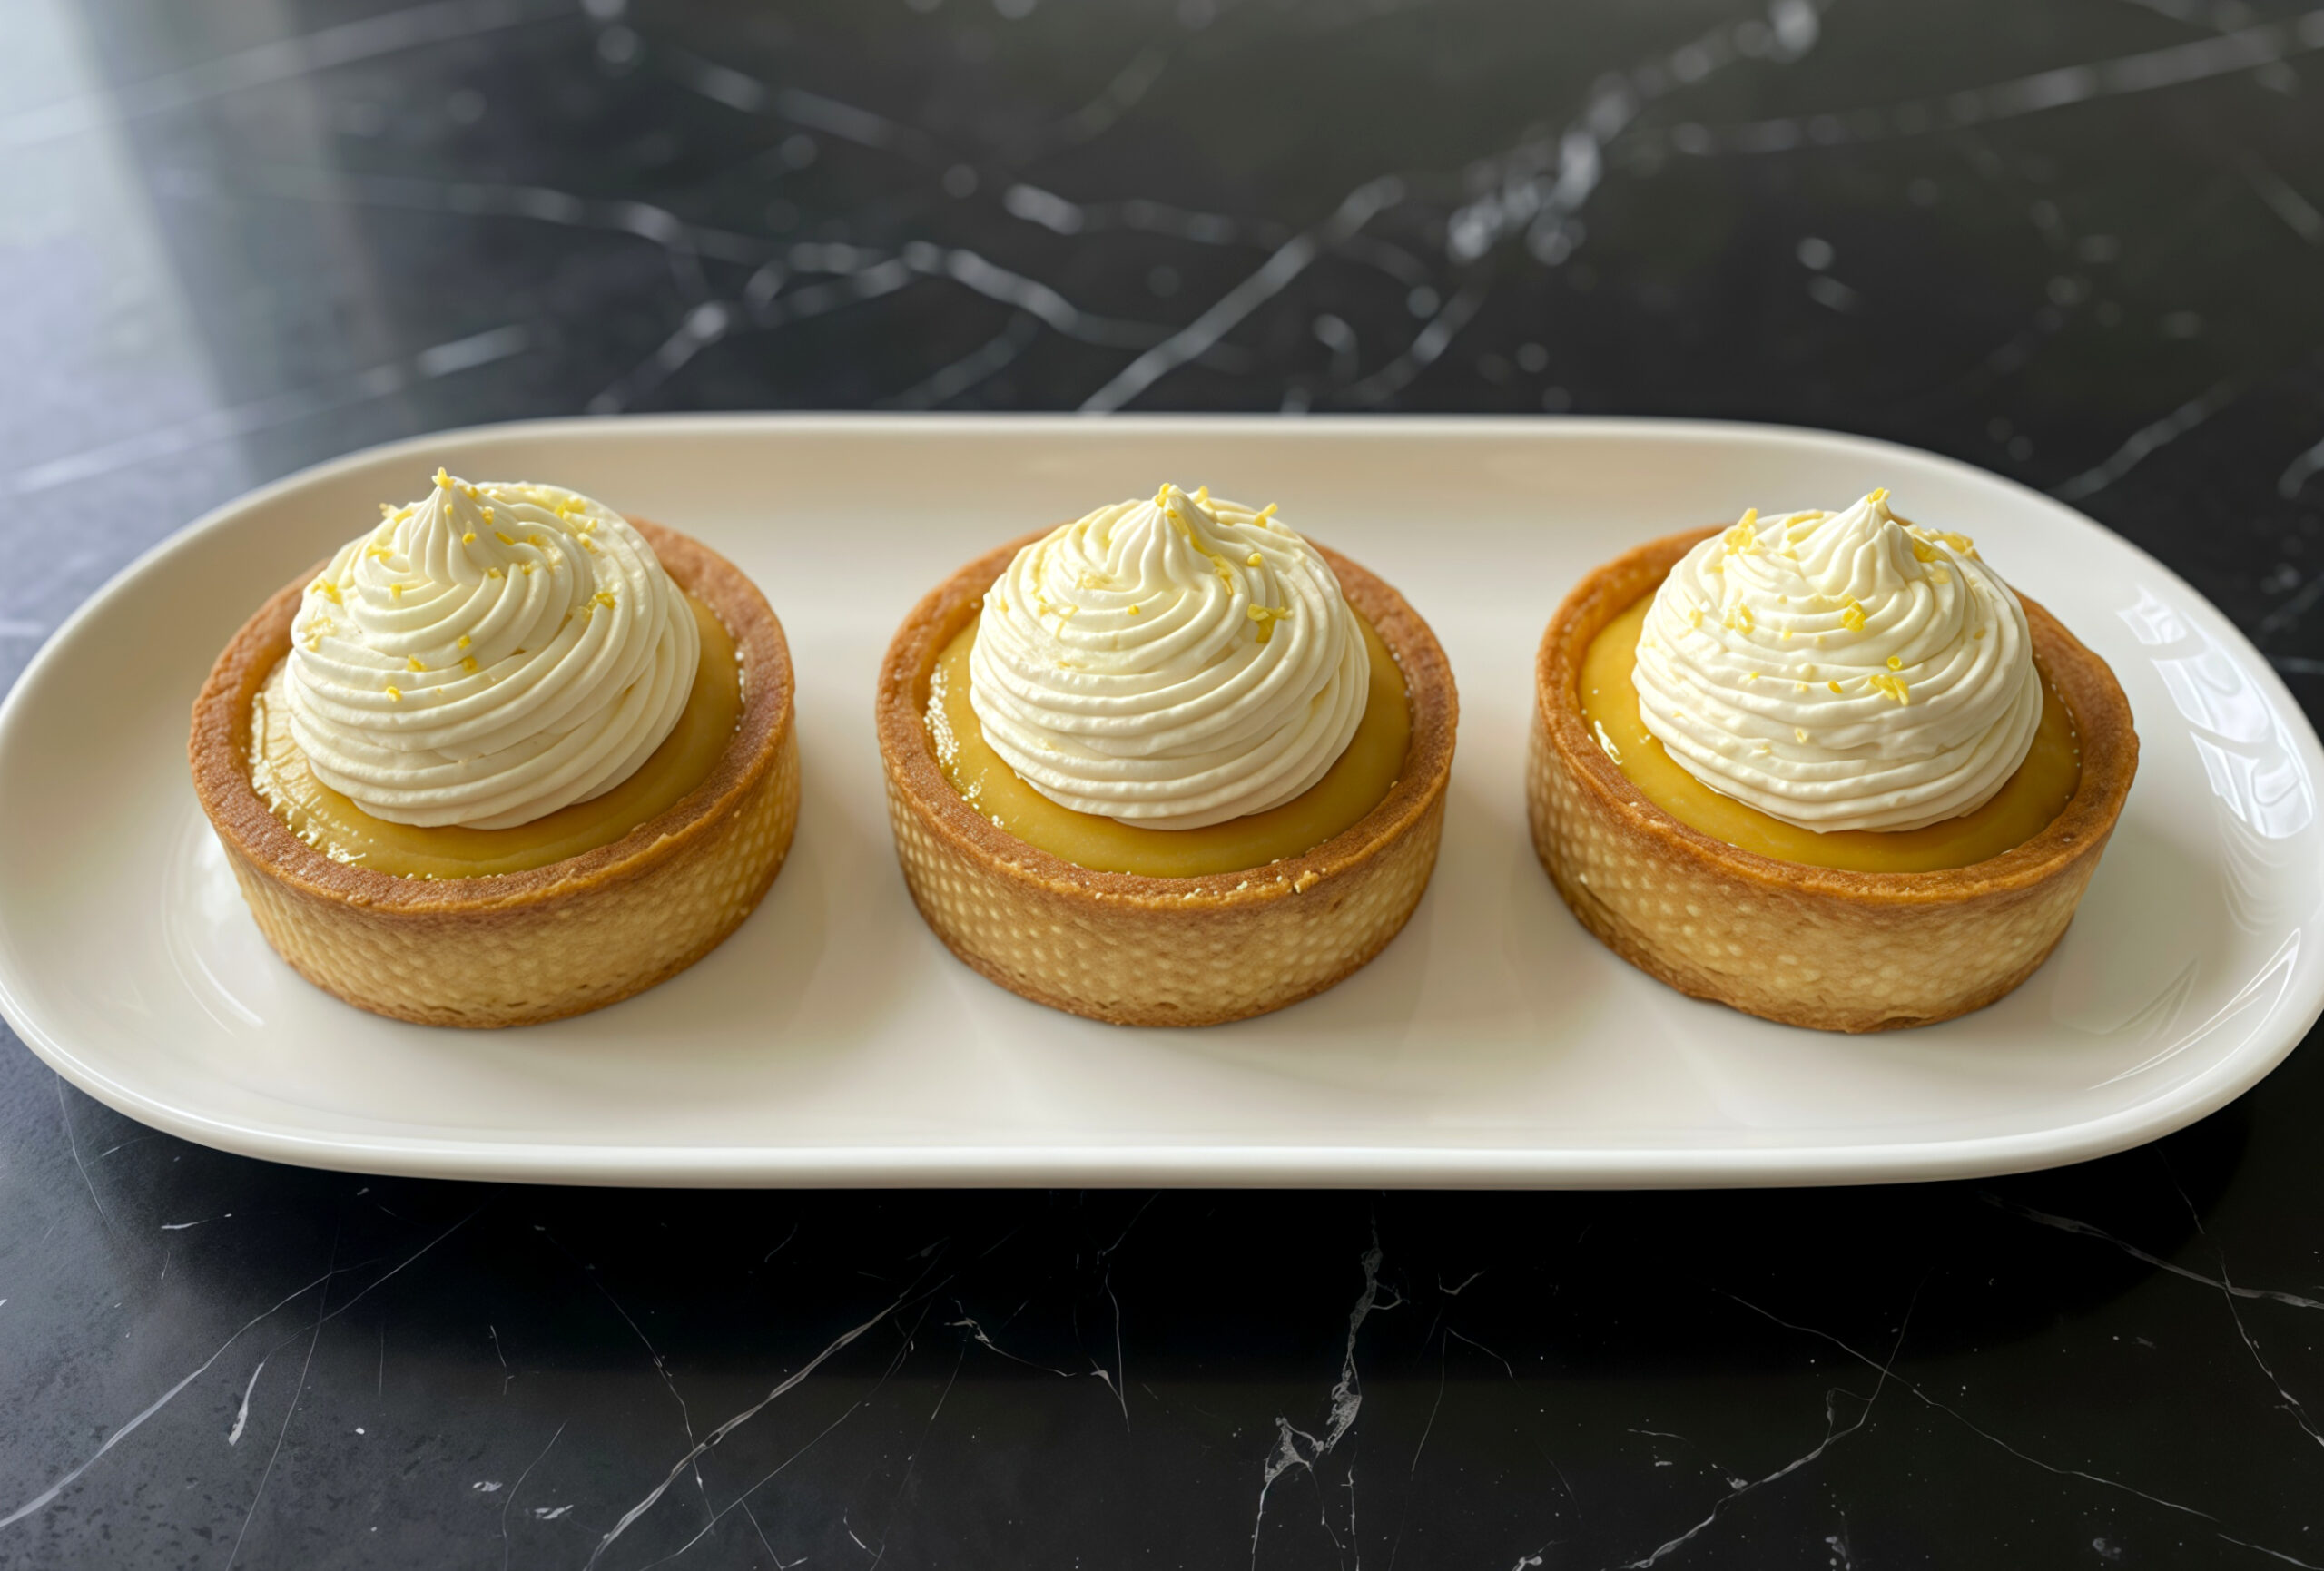
These lemon cream tartlets are the kind of dessert that looks impressive but is actually easy to make at home. A crisp, buttery shell with a hint of almond holds a smooth, tangy lemon filling that sets perfectly in the fridge. Right before serving, you add a swirl of soft whipped cream, a dusting of powdered sugar and a touch of lemon zest for color. They’re ideal for tea time, brunch or any occasion when you want something light, fresh and elegant on the table.
How to prepare the tart dough so it stays tender and easy to work with
A good tartlet starts with a dough that is mixed correctly and chilled at the right time. Using a food processor helps you avoid overworking the flour, which can make the crust tough. When you add the dry ingredients first and pulse to combine, you ensure the sugar and salt are evenly distributed. Adding softened butter and pulsing until the mixture resembles fine crumbs coats the flour in fat, which limits gluten development and leads to a tender bite. Once you pour in the beaten egg, the dough should start forming clumps that come together when pressed between your fingers. It is important not to keep mixing after this stage; instead, stop the processor, gather the dough and shape it gently into a ball. Wrapping it tightly in plastic keeps it from drying out in the fridge. Chilling for at least an hour allows the butter to firm up and the flour to hydrate, making the dough less sticky, easier to roll and less likely to shrink while baking. This simple rest is one of the secrets of professional-looking tart shells.
Rolling, cutting and fitting the dough into tartlet pans
Once the dough is fully chilled, it needs a bit of time at room temperature so it can be rolled without cracking. Lightly dust your work surface and rolling pin with flour to prevent sticking, but avoid using too much or the dough can become dry. Roll from the center outward, rotating the dough a quarter turn every few strokes to maintain an even 3 mm thickness. When the sheet is ready, use a round cutter that matches the size of your tartlet pans, cutting as close together as possible to reduce scraps. Each circle of dough should be lifted gently and laid over the tart pan, then pressed into the base and up the sides with your fingers. Try not to stretch the dough, as that can cause it to shrink back in the oven. Trim the edges by running a knife along the rim or by pressing with your thumb. Pricking the base with a fork allows steam to escape, which keeps the tartlets from puffing or forming bubbles while they bake. Treating this step with care ensures neat, even shells that are ready to hold the lemon filling.
Baking the tartlet shells to a light golden crunch
Baking the tartlet shells correctly is essential for achieving a texture that is crisp yet delicate. Preheating the oven to 300°F (150°C) gives the dough time to dry out and cook evenly without browning too quickly. Place the tartlet pans on a baking sheet so you can move them in and out of the oven easily and ensure even heat circulation. Because the shells are relatively thin, they reach a light golden color in about 20 minutes, but it is always a good idea to check them toward the end of the baking time. The edges should look lightly golden and feel firm to the touch, while the center should no longer look raw or shiny. If you remove them too early, they can turn soft once filled; if you bake them too long, they can become overly hard and dark. Letting the tartlet shells cool completely in their pans helps them set and prevents cracking when you later add the filling. Once cool, they should lift out cleanly, ready for assembling the dessert.
Cooking a smooth and silky lemon filling on the stovetop
The lemon filling for these tartlets is cooked gently on the stovetop to achieve a soft, custard-like texture. Start by combining the lemon zest, lemon juice, sugar, egg, milk and honey in a small saucepan with a heavy bottom, which helps distribute heat more evenly. Place the pan over low heat and stir constantly with a whisk or heatproof spatula, scraping the bottom and sides so the egg doesn’t scramble. As the mixture warms, it will look thin at first, then gradually start to thicken and cling to the spoon. The goal is to bring it to the point where it coats the back of a spoon and leaves a clear line when you run your finger through it. Once it reaches this stage, remove the pan from the heat right away to avoid overcooking. Let it cool for a few minutes, then add the butter in small pieces, stirring until completely melted and incorporated. This last step gives the filling a velvety texture and a gentle shine, making it perfect for piping into the tartlet shells.
Filling and chilling the tartlets for clean slices and stable texture
Transferring the warm lemon filling into a piping bag makes it much easier to portion it evenly into the tart shells. You can use a simple round tip or just cut a small opening in the bag. Hold each tartlet over the tray and pipe the filling in a spiral motion, getting close to the edges to avoid air pockets. The shells should be completely cool before you add the filling, otherwise the heat can soften the crust and make it less crisp. Once all the tartlets are filled, arrange them on a flat tray and place it carefully in the refrigerator. The chilling time of at least one hour allows the custard to firm up and hold its shape when you cut or bite into the tartlets. This rest also helps the flavors blend, giving you a more harmonious lemon taste. If you can, leave them to chill a bit longer, especially on warm days, so the texture stays stable when you decorate and serve.
When and how to serve lemon cream tartlets for the best experience
These lemon cream tartlets are best served well-chilled, when the filling is fully set and the whipped topping is still light and fresh. They fit beautifully into many different occasions: as a sweet bite at afternoon tea, as part of a dessert table at a family gathering, or as a refreshing end to a rich meal. Because they are individually portioned, guests can easily pick one up without needing to slice or share, which makes them perfect for buffets and parties. The balance of tart lemon and gentle sweetness pairs nicely with black tea, espresso or a simple brewed coffee. If you plan to transport them, it is a good idea to keep them in a tight-fitting container in the refrigerator and add the whipped cream after you arrive. Leftovers can be stored in the fridge for a day, though the crust is at its crispiest on the first day. Served at the right temperature, each tartlet offers a clean bite and a bright, satisfying lemon flavor.
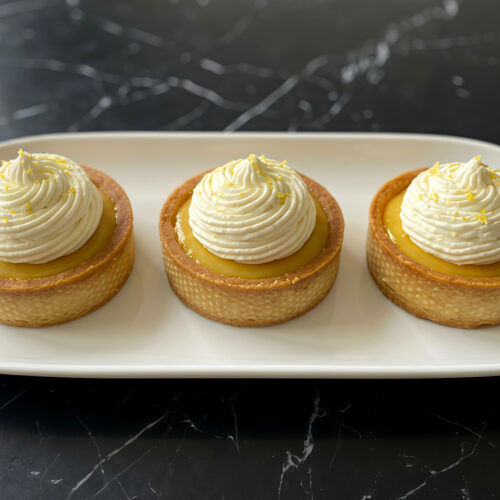
Lemon Cream Tartlets with Whipped Topping
Ingredients
For the tartlet shells:
- 1 cup all-purpose flour
- 6 tablespoons powdered sugar
- ¼ cup fine almond flour
- ¼ teaspoon fine salt
- 1 large egg
- 5 tablespoons unsalted butter softened
For the lemon filling:
- zest of 1 lemon
- 2½ tablespoons fresh lemon juice
- 3 tablespoons sugar
- 1 large egg
- 2½ teaspoons liquid honey
- 2 tablespoons milk
- 2½ tablespoons unsalted butter
For decorating:
- whipped cream
- extra lemon zest
- powdered sugar for dusting
Instructions
- In the bowl of a food processor, combine the flour, powdered sugar, almond flour and salt. Pulse to mix, then add the softened butter and pulse until the mixture looks sandy and crumbly. Lightly beat the egg, add it to the bowl and pulse again just until the dough starts to come together.
- Gather the dough into a ball, wrap it tightly in plastic wrap and refrigerate for at least 1 hour until firm.
- Roll the chilled dough into a 3 mm (about 1/8 inch) thick sheet. Cut out 12 circles using a 7–8 cm (about 3 inch) cutter. Gently press each circle into your tartlet pans, trimming any excess dough. Prick the bases with a fork.
- Preheat the oven to 300°F (150°C). Place the tartlet shells on a baking sheet and bake for about 20 minutes, until lightly golden. Let them cool completely in the pans.
- In a small saucepan, whisk together the lemon zest, lemon juice, sugar, egg, milk and honey. Cook over low heat, stirring constantly, until the mixture thickens and coats the back of a spoon. Remove from the heat, let cool for 5 minutes, then add the butter and stir until fully melted and smooth.
- Transfer the warm lemon filling to a piping bag and carefully pipe it into the cooled tartlet shells. Refrigerate for at least 1 hour to set.
- Before serving, pipe whipped cream on top of each tartlet. Dust with powdered sugar and sprinkle with extra lemon zest. Serve chilled with tea or coffee.
Notes
- Chilling the dough before rolling helps prevent the tartlet shells from shrinking in the oven.
- For best flavor, use fresh lemon juice and zest.
- The tartlets are at their crispiest on the day they are made, but leftovers can be stored in the fridge for up to 24 hours.
Frequently Asked Questions
Fresh lemon juice and zest give the brightest flavor, but in a pinch you can use bottled juice. Make sure it is 100% lemon juice without added sugar or flavors.
The filling is ready when it lightly coats the back of a spoon and you can draw a clean line with your finger. It will thicken more as it cools and sets in the fridge.
Use heavy cream or whipping cream with at least 30–33% fat so it whips easily and holds its shape on top of the tartlets without collapsing.
Baked shells freeze well once completely cooled. Store them in an airtight container or freezer bag and thaw at room temperature before filling with the lemon cream.