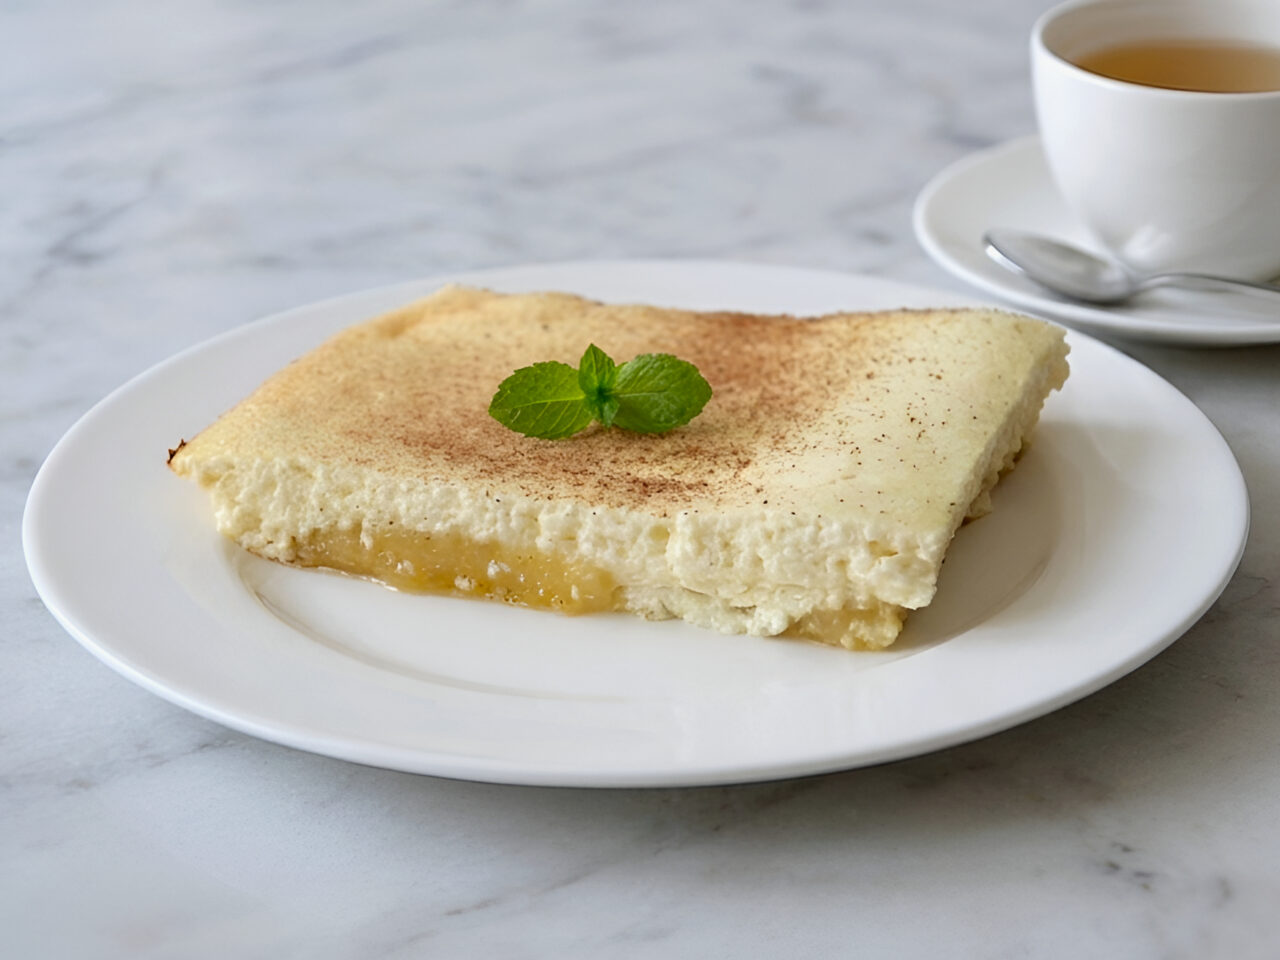
This no‑bake ladyfinger whipped cream cake is the kind of dessert you make when you want something impressive, but do not want to turn on the oven. Soft ladyfingers soaked in milk are layered with fluffy vanilla whipped cream and topped with cocoa. After a few hours in the fridge, the cake sets beautifully and slices cleanly, making it perfect for birthdays, holidays or a simple family treat.
How do we prepare the vanilla whipped cream filling
The key to a successful no‑bake cake like this one is a stable, airy whipped cream that holds the layers together. Start by pouring very cold whipping cream into a large mixing bowl; the colder the cream, the better it whips. Add the sugar and vanilla extract right at the beginning, so they dissolve evenly as you beat. Using a hand mixer, beat the cream on high speed for several minutes, watching carefully as it thickens. You are looking for soft to medium peaks that hold their shape but still look smooth and creamy, not grainy. If you beat too little, the cream will be too soft and the layers can slide, but if you overbeat, it might turn grainy or start to separate. Once you reach the right consistency, stop immediately. The whipped cream should be light, fluffy and easy to spread over the ladyfingers, creating a delicate texture in every slice of cake.
How to build clean, even layers with cream and ladyfingers
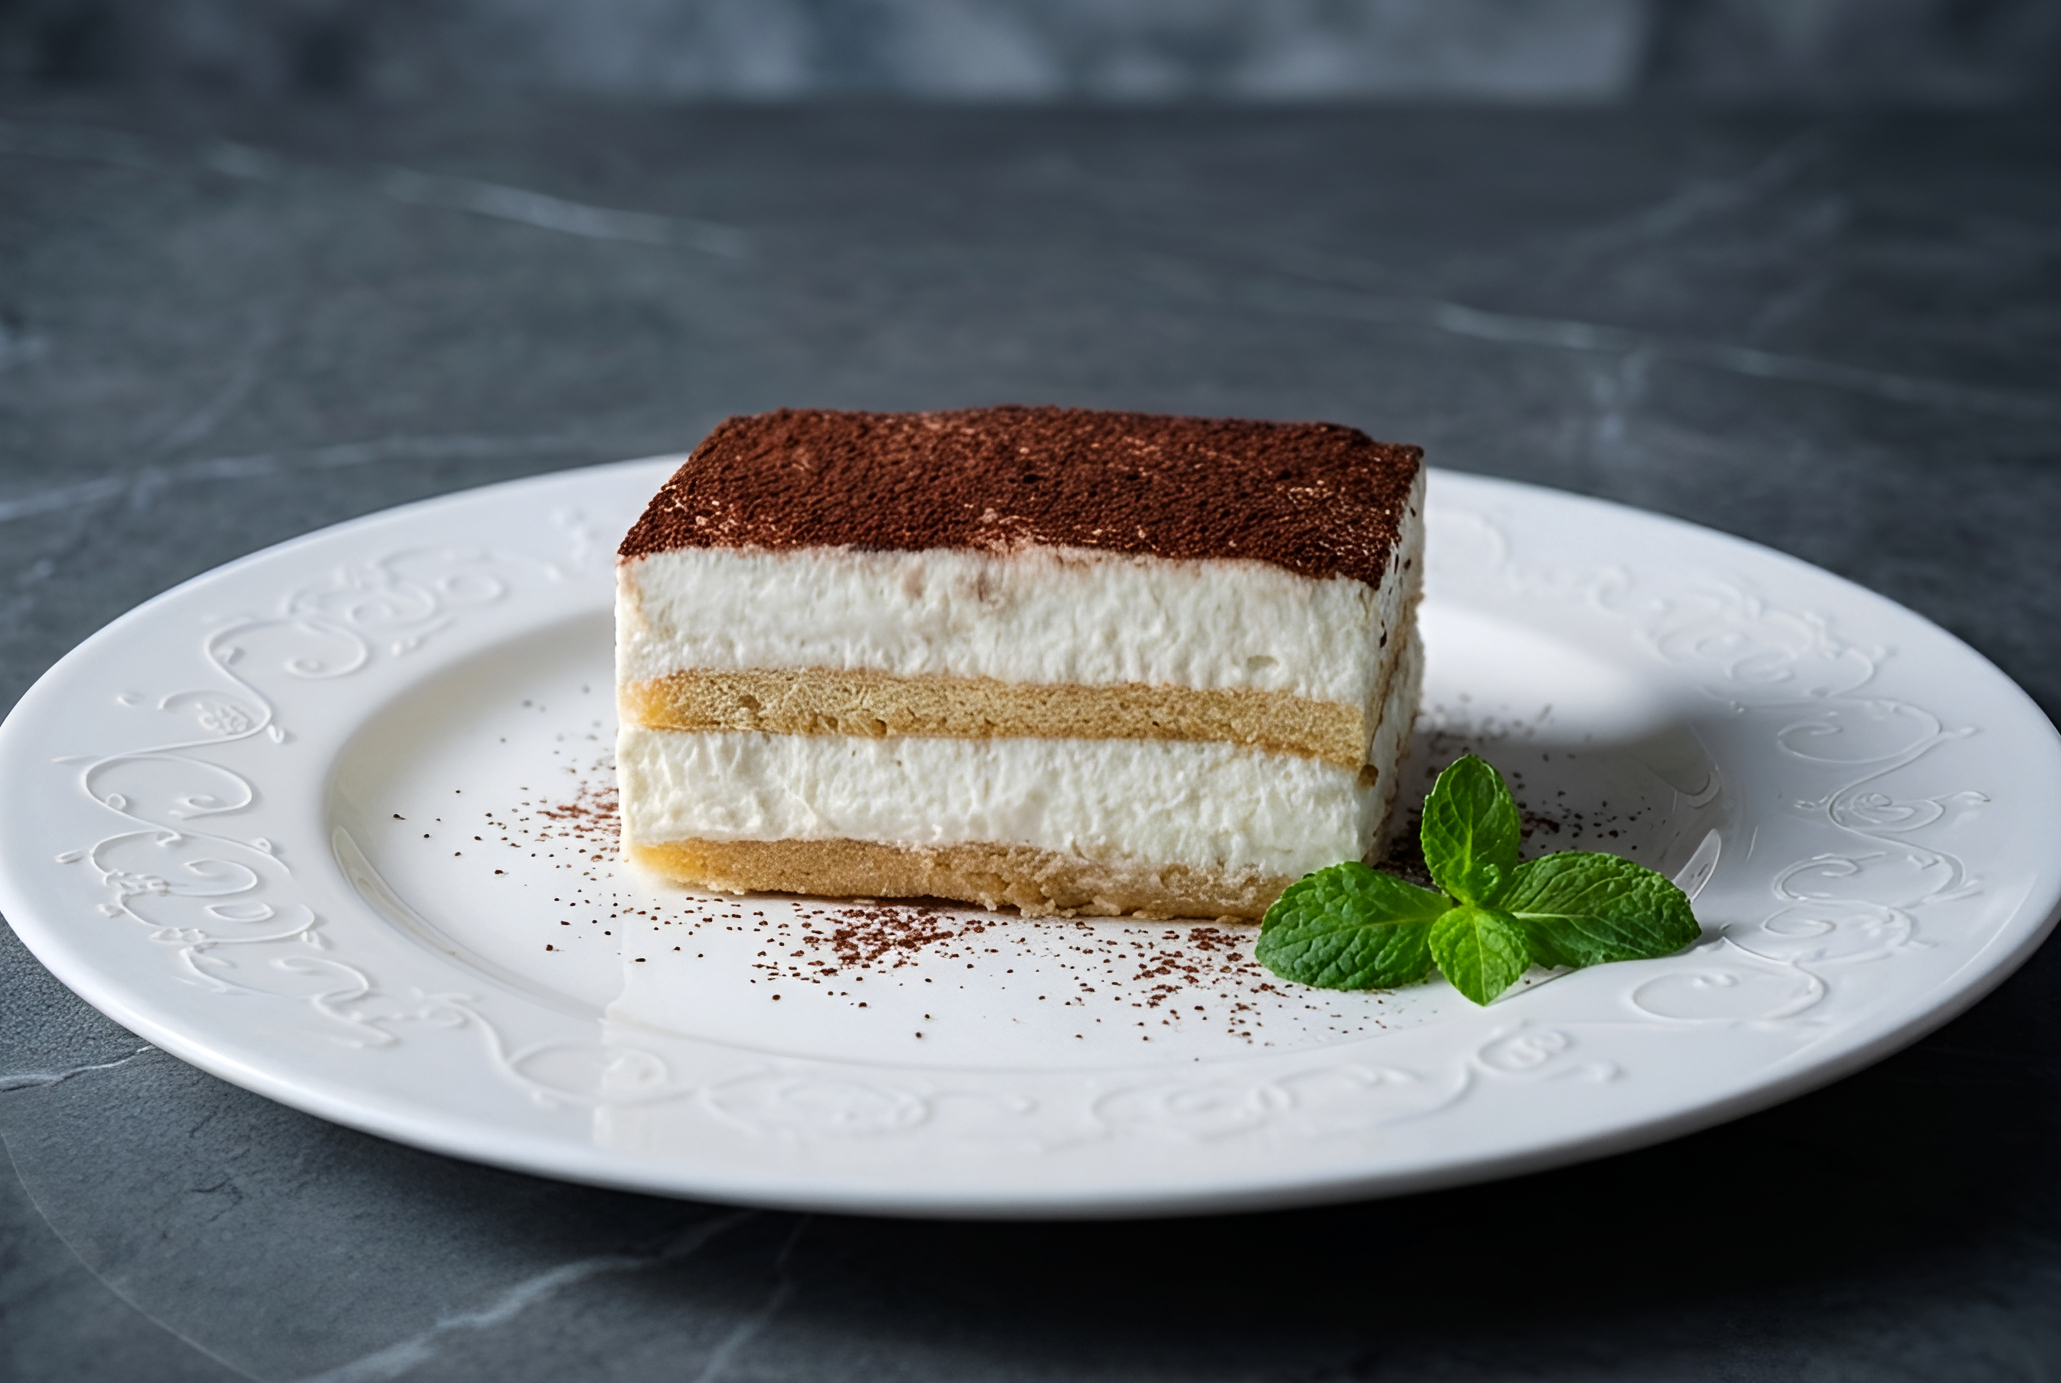
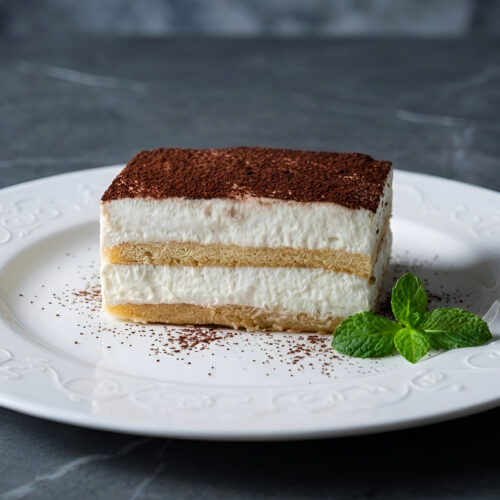
Once the first layer of soaked ladyfingers is in place, it is time to assemble the cake so that each slice looks neat and appetizing. Start by spreading half of the whipped cream over the first layer, using a spatula or a knife to push the cream gently into all the small gaps. Aim for an even thickness, so the cake looks balanced when you cut it. After that, soak the remaining ladyfingers in milk in the same quick way and arrange them on top of the cream, aligning them with the first layer when possible. This helps the cake cut more cleanly. Finally, spread the rest of the whipped cream on top, smoothing the surface carefully. Do not press too hard, to avoid squashing the layers. When you look at the side of the dish, you should see two distinct biscuit layers and two generous cream layers, promising a light yet satisfying dessert.
Tips to get a perfectly creamy no‑bake cake every time
To make sure your no‑bake ladyfinger cake comes out perfect, a few simple tips help a lot. Always start with very cold whipping cream; if your kitchen is warm, you can even chill the bowl and mixer beaters in the fridge for a short time. Measure the sugar and vanilla precisely, so the cream does not turn too sweet or too strong in flavor. When soaking the ladyfingers, work quickly to avoid oversoaking them, especially if they are very delicate. Use a pan or dish that fits the number of biscuits well, with little empty space, so the cake looks full and even. Give the dessert enough time in the fridge and resist the temptation to cut it too early. If you plan to decorate with fresh fruit, add it closer to serving time to keep it fresh and vibrant. With these small details in mind, your no‑bake cake will be consistently light, creamy and delicious.
No‑Bake Ladyfinger Whipped Cream Cake
Ingredients
- 2 cups cold heavy whipping cream (33% fat)
- ½ cup sugar
- 1 teaspoon vanilla extract
- 2/3 cup milk for soaking the ladyfingers
- unsweetened cocoa powder for dusting on top
Instructions
- Pour the cold 33% whipping cream into a large mixing bowl.
- Add the sugar.
- Add 1 teaspoon of vanilla extract.
- Beat with a hand mixer on high speed for 4–5 minutes, until the cream thickens into a smooth whipped cream.
- Quickly dip the ladyfingers in the milk.
- Arrange them in a single layer in your cake pan or dish.
- Spread half of the whipped cream over the first layer of ladyfingers.
- Add the second layer of ladyfingers, dipping them in milk first as well.
- Spread the remaining whipped cream on top and smooth the surface with a knife or spatula.
- Dust the top of the cake with unsweetened cocoa powder. Decorate with chocolate or fruit if you like.
- Cover the cake with plastic wrap and refrigerate for 5–6 hours.
- Slice the ladyfinger and whipped cream cake and serve chilled. Enjoy!
Frequently Asked Questions
Yes, you can use regular whipping cream as long as it has at least 30–33% fat. Just make sure it is very cold and whip it long enough to reach a stable, thick consistency.
You can slightly reduce the sugar if you prefer a less sweet dessert. Keep in mind that the ladyfingers are also sweet, so the cake will still taste pleasant even with a bit less sugar in the cream.
The cake keeps well in the refrigerator for about 2–3 days if covered tightly with plastic wrap. After that, the cream and ladyfingers may start to lose their best texture and freshness.