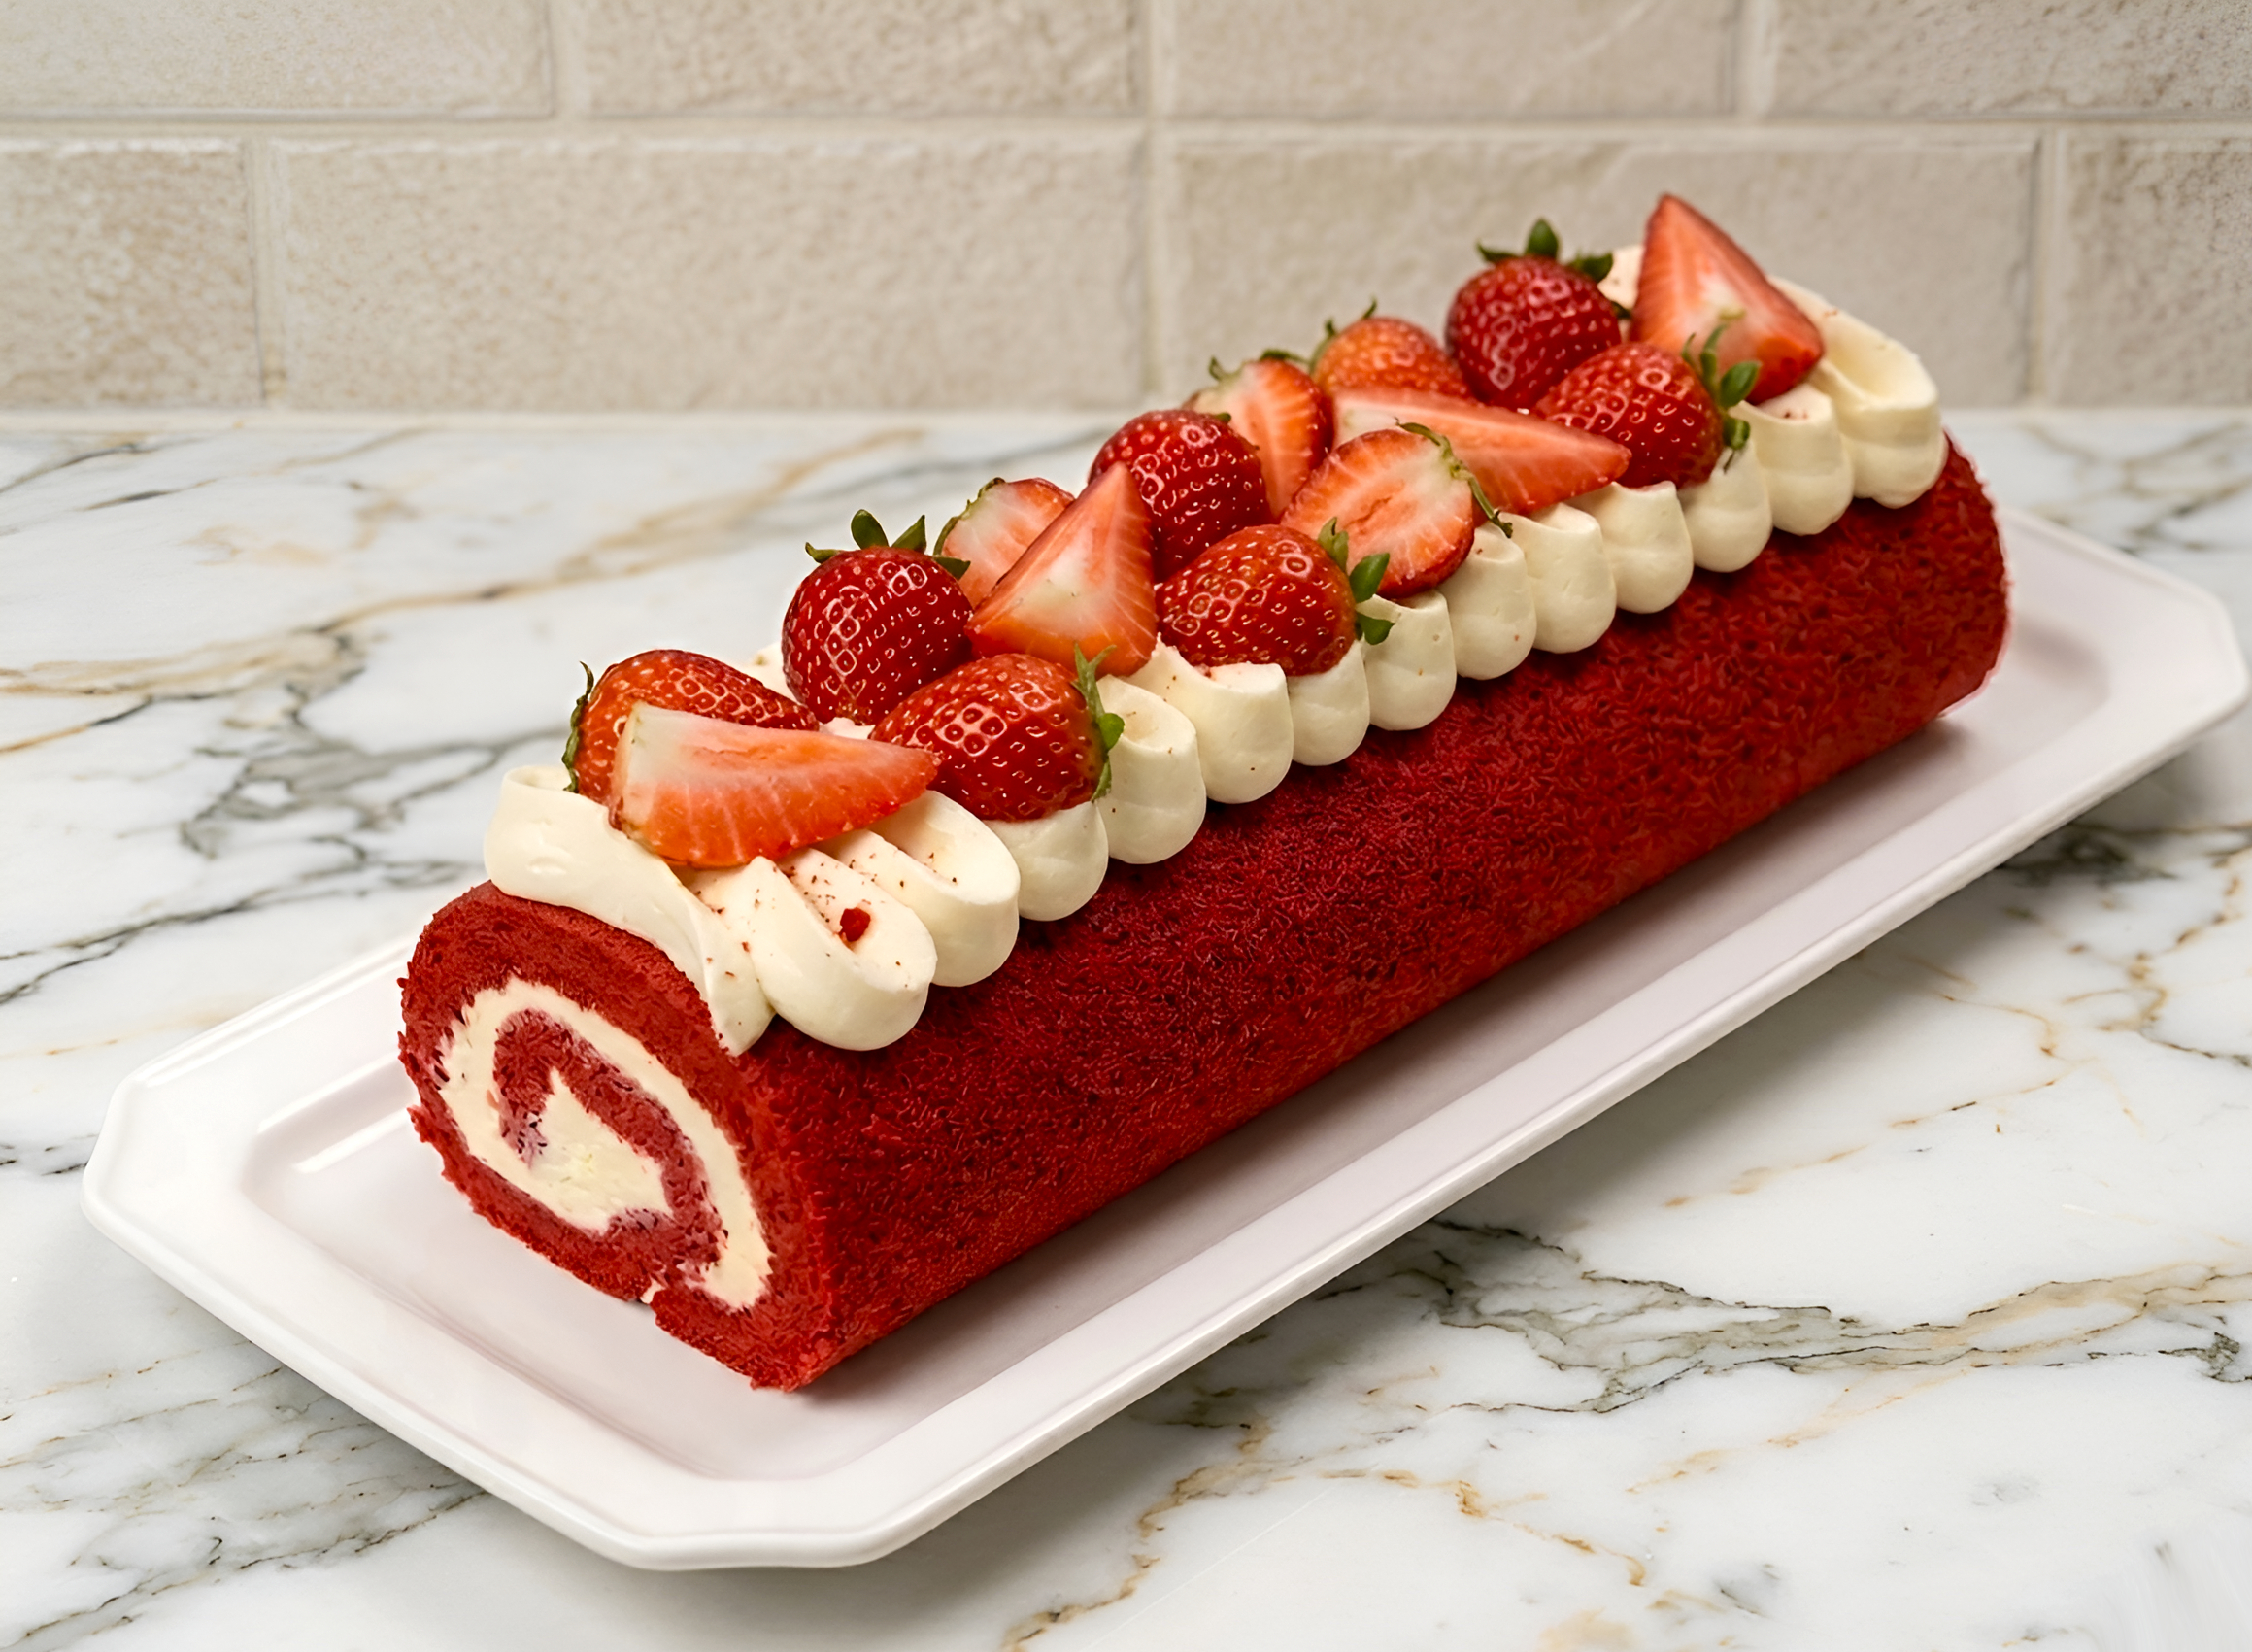
If you love classic red velvet cake but want something quicker and easier to serve, this roll cake is the perfect solution. The thin sponge bakes fast and stays incredibly tender thanks to oil and milk in the batter. A simple vanilla‑scented cream cheese filling adds that signature tangy flavor without being heavy. Decorated with extra cream and red crumbs, each slice looks like it came from a pastry shop, yet the recipe is straightforward enough for a busy weekday.
Why do we use so little cocoa in red velvet sponge
Red velvet cake is known for its bright red color and mild cocoa flavor, not for an intense chocolate taste. That is why this sponge uses only a couple of teaspoons of cocoa powder instead of the larger amounts you would see in a regular chocolate cake. A small dose of cocoa deepens the tone of the red food coloring, turning it into a rich, elegant shade instead of a neon hue. If you were to add more cocoa, the batter would darken too much and you would lose that characteristic red appearance, especially after baking. At the same time, this tiny amount still contributes a hint of bitterness and depth, which balances the sweetness of the sugar and cream filling. Sifting the cocoa before mixing it in also prevents lumps and ensures even distribution throughout the batter. The result is a sponge that looks vivid, slices beautifully and tastes delicately chocolaty without overshadowing the tangy cream cheese.
How do we whip egg whites for a light, flexible sponge
Properly whipped egg whites are the secret to a sponge that bakes up airy and flexible enough to roll. Start by making sure your mixing bowl and beaters are completely clean and dry, because any trace of fat can prevent the whites from whipping correctly. Adding a few drops of lemon juice or another acidic ingredient helps stabilize the foam, so the peaks stay firm longer. Begin whipping on medium speed until the mixture turns foamy, then gradually sprinkle in the granulated sugar. This slow addition gives the sugar time to dissolve and avoids deflating the whites. Continue beating until you reach stiff, glossy peaks that hold their shape when you lift the whisk. When folding the whites into the red batter, use a spatula and gentle, sweeping motions, turning the bowl as you go. Working in several additions ensures that you do not knock out too much air at once. This careful technique gives the sponge volume without making it dry, so it will roll nicely around the filling.
Baking the red velvet sponge: pan size and oven tips
Baking the sponge evenly is essential for a successful roll cake, because an overbaked sheet will crack and crumble when you try to roll it. Using a shallow 11 x 11‑inch pan helps the batter spread into an even layer that bakes through quickly without drying out. Lining the pan with parchment paper makes it much easier to lift the sponge out in one piece later, so do not skip this step. Preheating the oven to the correct temperature ensures the cake starts rising as soon as it goes in, creating that fine, soft crumb you want. If your oven has a convection setting, turning it on for the last few minutes can help set the top and give a lightly even color, but watch carefully so it does not brown. Once baked, the sponge should spring back lightly when touched and pull away just slightly from the edges of the pan. Let it cool on the parchment before trimming the edges, so the structure has time to set without becoming dry.
Why do we toast and crumble the trimmed edges
Instead of discarding the trimmed edges of the sponge, this recipe turns them into a beautiful, practical decoration. After you cut off the uneven sides, placing those pieces back in the oven at a lower temperature dries them out without burning. As they cool, they become firm enough to crumble easily between your fingers into fine, soft crumbs. These crumbs are perfect for coating the top of the roll, enhancing the red velvet look and covering any small imperfections in the cream. Using the same sponge for decoration keeps the flavor consistent and avoids wasting ingredients you already worked to prepare. The contrasting texture of the slightly crisp crumbs against the smooth cream also makes each bite more interesting. This simple step takes only a few extra minutes, but it gives your dessert that polished bakery finish that makes guests think you spent much longer decorating.
How to prepare a smooth cream cheese and whipped cream filling
The filling for this roll is all about finding the right balance between richness and lightness. Start with cream cheese at room temperature so it softens enough to beat smoothly without lumps. Beating it first with vanilla allows the flavor to distribute evenly before you combine it with the whipped cream. Use very cold heavy cream and a chilled bowl if possible, as this helps the cream whip faster and hold its structure better. Gradually add powdered sugar while whipping so it dissolves completely, giving the cream a silky texture. Once you have medium to stiff peaks, transfer a portion of the cream into the cream cheese and fold gently to lighten it before mixing in the rest. This method prevents the mixture from deflating too much and keeps it stable enough to hold up inside the roll. The final filling should be thick, smooth and spreadable, not runny, so it stays neatly in place when you slice the dessert.
Rolling, chilling and decorating the cake roll
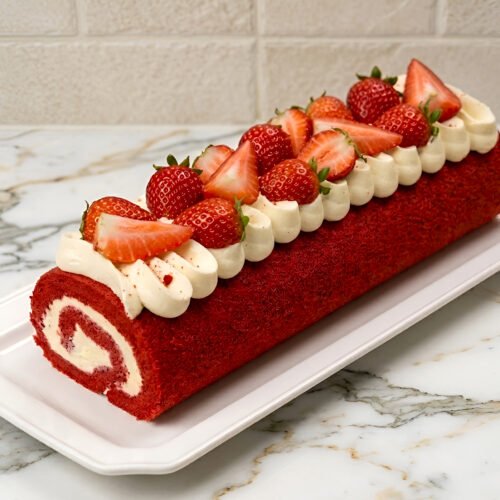
Rolling the cake while keeping the sponge intact can feel intimidating, but the right technique makes it straightforward. After the sponge has cooled and the edges are trimmed, spread the cream filling in an even layer, leaving a small border around the edges. This gap prevents the filling from spilling out when you roll. Start rolling from one side, using the parchment to help lift and guide the sponge while keeping the roll tight but not squeezed. Once rolled, wrap it gently in the parchment and transfer it to the refrigerator so the cream can firm up and the flavors meld. Chilling for at least thirty minutes makes the roll much easier to slice cleanly. When you are ready to serve, pipe the reserved cream on top using a star or round tip for a simple but elegant look. Finally, sprinkle the red crumbs over the cream and add a few fresh berries or fruit for a pop of color and freshness.
Storing and serving your red velvet Swiss roll
This red velvet Swiss roll keeps well in the refrigerator, which makes it a great make‑ahead dessert for busy holidays or gatherings. Because the filling contains cream cheese and whipped cream, it should always be stored chilled, tightly covered to prevent it from drying out or absorbing fridge odors. Ideally, slice the roll just before serving so the cut surfaces stay moist and the decoration looks fresh. Use a sharp, thin knife and wipe it clean between cuts to get neat slices that show off the red spiral and creamy center. The cake tastes best when slightly chilled but not ice cold, so taking it out of the fridge about fifteen minutes before serving helps the flavors come through. Leftovers will stay soft for a couple of days if wrapped well, though the texture is at its peak on the first day. You can customize the topping with different fruits or a light dusting of powdered sugar depending on the season.
Red Velvet Swiss Roll with Cream Cheese Filling
Ingredients
- 4 large eggs
- 1/2 all-purpose flour
- 2 teaspoons unsweetened cocoa powder
- 1/4 cup whole milk
- 1 tablespoon liquid red food coloring
- ¼ cup neutral oil
- ⅓ cup sugar
- 3 oz cream cheese at room temperature
- ¾ cup cold heavy whipping cream
- ¼ cup powdered sugar
- a few drops vanilla extract
Instructions
- Whisk together the milk, corn oil and liquid red food coloring, then beat with a mixer until well combined.
- Sift in the cocoa powder and mix well. Adding just a little cocoa powder will give the sponge a deep, intense red color.
- Separate the egg whites from the yolks. Add the yolks to the batter and mix until fully incorporated.
- In a clean, dry bowl, combine the egg whites with a little lemon juice. Then add the granulated sugar and continue beating until stiff peaks form.
- In several additions, gently fold the whipped egg whites into the batter, mixing carefully after each addition.
- Pour the batter into a 11 x 11-inch (28 x 28 cm) baking pan lined with parchment paper, then tap the pan lightly so the batter spreads evenly. Bake at 340°F (170°C) for about 20 minutes, turning on convection for the last 5 minutes.
- Carefully lift the sponge out of the pan with the parchment paper and let it cool completely.
- Trim any uneven edges, then toast the trimmings at 300°F (150°C) for about 10 minutes. Let them cool and crumble for decoration.
- Beat the room-temperature cream cheese with vanilla until smooth.
- Whip the heavy cream with powdered sugar to stiff peaks, then fold in the cream cheese mixture until smooth.
- Reserve about 1/3 cup (80 g) of cream for decorating. Spread the remaining cream over the sponge, leaving a small border at the edges. Roll up and chill for at least 30 minutes.
- Decorate the chilled roll with the reserved cream, fresh berries or fruit, and the red sponge crumbs.
Frequently Asked Questions
Yes, you can use gel food coloring, but you will need less because it is more concentrated. Start with a small amount, mix well and add more until you reach the desired shade of red.
Do not overbake the sponge, because a dry cake cracks more easily. Also, make sure to fold the egg whites gently so the batter stays light and flexible, and roll the cake while it is still slightly pliable.
If you do not have cream cheese, you can use mascarpone for a milder taste, or a thick Greek yogurt drained of excess liquid. Keep in mind the flavor and texture will be slightly different.
One roll usually yields about 8 to 10 slices, depending on how thickly you cut them. For larger gatherings, you can easily double the recipe and bake two rolls in separate pans.