 Carmen
There’s nothing quite like the smell of garlic and fresh dill mingling in the oven while shrimp turn a beautiful pink-orange in minutes. This recipe strips away the fuss: no complicated marinade, no babysitting the stove, just a handful of pantry staples and fifteen minutes of your time. Whether you’re feeding a hungry family or plating something special for guests, this dish delivers restaurant-quality flavor without the restaurant-level effort.
How to Properly Thaw and Rinse Frozen Shrimp
If you’re starting with frozen shrimp, proper thawing is the first step to getting great texture. Thaw them fully in the refrigerator overnight, or place them in a bowl of cold water for a quicker method if you’re short on time. Once thawed, rinse the shrimp thoroughly under cold running water to remove any ice residue or surface impurities. This rinsing step matters more than people realize: skipping it can leave a slightly off flavor. After rinsing, pat the shrimp dry with paper towels — excess moisture will dilute your garlic and olive oil marinade and prevent the shrimp from developing that lightly golden, appetizing finish in the oven.
Preparing the Garlic and Dill Mixture
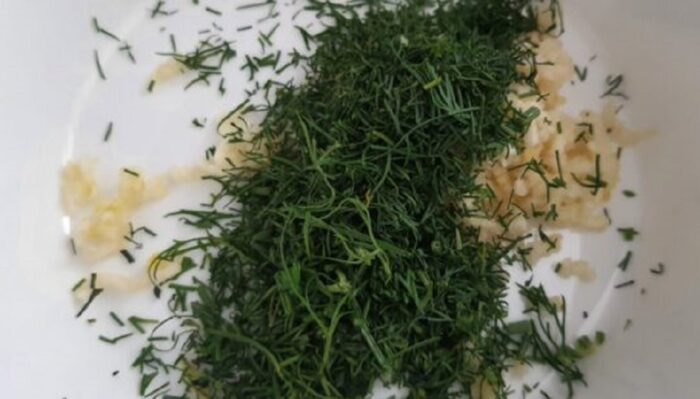
Finely chop the fresh dill and mince the garlic cloves as small as possible; this ensures the flavors distribute evenly and cling to every shrimp rather than clumping in one spot. Combine the chopped dill and minced garlic in a small bowl and mix well before adding it to the shrimp. This step is quick, but don’t rush it: uneven chopping means some bites will taste overwhelmingly garlicky while others taste bland. A fine, even mince guarantees a balanced, aromatic coating across the entire batch, which is really the heart of what makes this dish taste so vibrant despite its short ingredient list.
Coating the Shrimp: Getting the Marinade Right
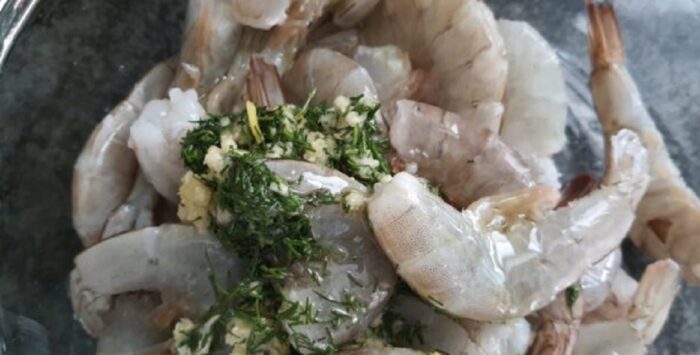
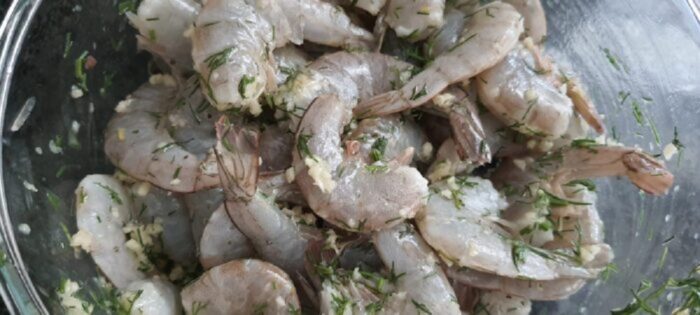
Once your shrimp are clean and dry, add the dill-garlic mixture directly on top, followed by the olive oil and a pinch of salt. Toss everything together gently but thoroughly, making sure each shrimp is evenly coated. At this stage, you have two options: bake immediately for a lighter, fresher garlic flavor, or let the shrimp rest in the marinade for 15–20 minutes if you prefer a deeper, more infused taste. Neither option is wrong — it simply depends on how much time you have and how bold you want the garlic flavor to be. Either way, resist adding extra liquid, as shrimp release their own moisture while baking.
Arranging Shrimp on the Tray for Even Cooking
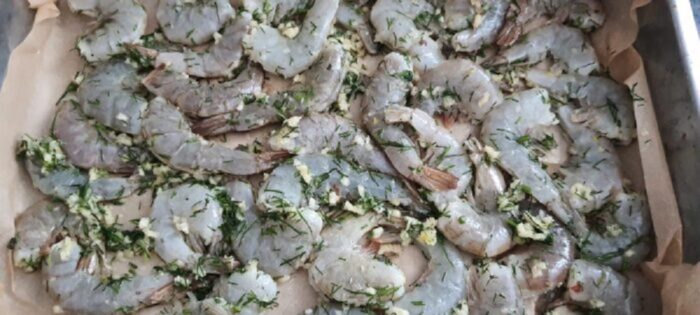
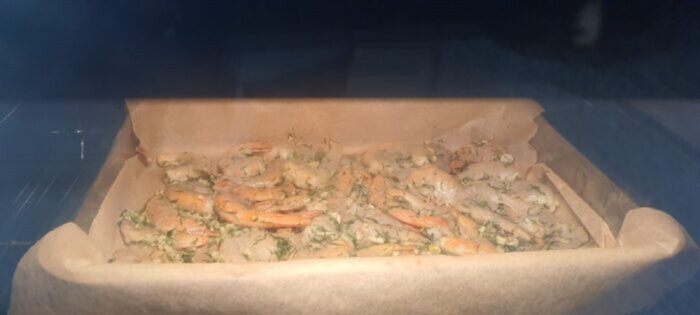
Line a baking sheet with parchment paper to prevent sticking and make cleanup effortless. Arrange the marinated shrimp in a single layer, leaving a little space between each piece rather than piling them on top of one another. Overcrowding is one of the most common mistakes here: when shrimp touch or overlap, they steam instead of roast, resulting in uneven texture and less flavorful browning. A single, evenly spaced layer ensures the hot air circulates around each shrimp, cooking them uniformly and helping them develop that lightly caramelized, aromatic finish that makes this dish so satisfying.
Baking Time: Why Minutes Matter with Shrimp
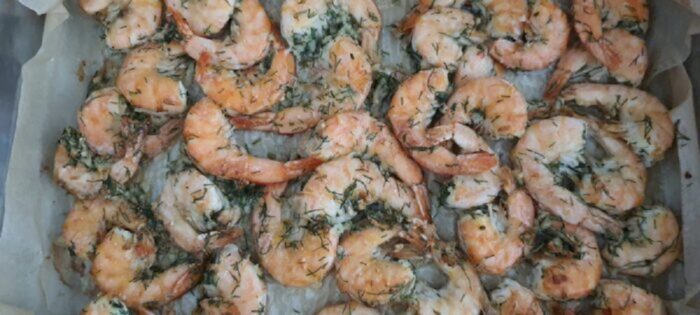
Slide the tray into a well-preheated oven and bake for no more than 10 minutes. Shrimp cook remarkably fast, and this is the single most important detail in the entire recipe: even an extra two or three minutes in the oven can turn tender shrimp into a tough, rubbery disappointment. Watch for the visual cues rather than relying solely on the clock — perfectly done shrimp turn a vivid pink-orange and curl slightly into a “C” shape. The moment you see that transformation, they’re ready to come out, regardless of the exact minute mark.
Serving Tips for Juicy, Aromatic Garlic Shrimp
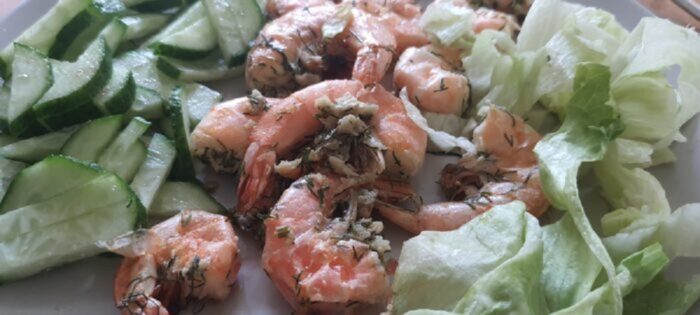
Carefully remove the tray from the oven, as the shrimp will be hot and the pan may still be sizzling from the olive oil. Serve immediately while they’re warm and fragrant, ideally straight from the tray for maximum aroma. These shrimp pair wonderfully with crusty bread to soak up the garlicky oil, a simple green salad, or a bed of rice or pasta for a heartier meal. For an easy local touch, feel free to serve them alongside a squeeze of fresh lemon at the table so everyone can adjust the acidity to their own taste.
Ingredients
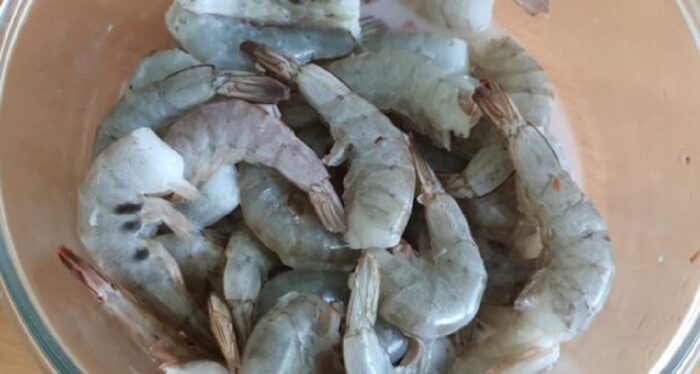
- 1.1 lb raw shrimp peeled and deveined, fresh or thawed frozen
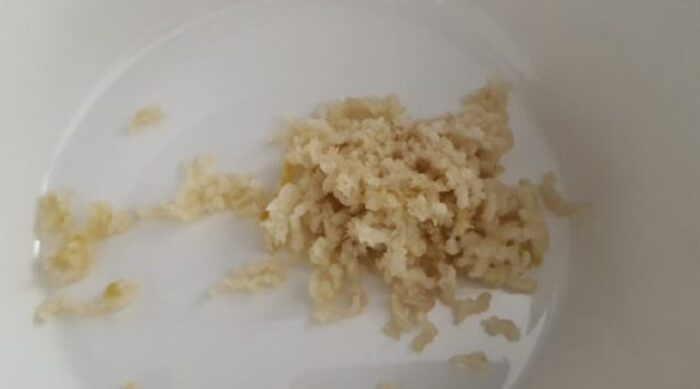
- 4 cloves garlic finely chopped
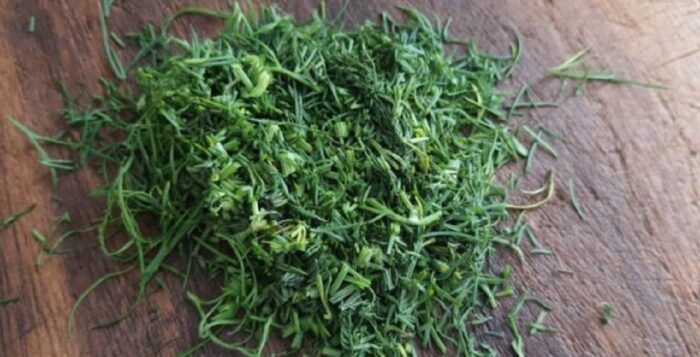
- 5 sprigs fresh dill finely chopped
- 3 tablespoons extra‑virgin olive oil
- fine sea salt to taste
ptional, to reduce fishy smell:
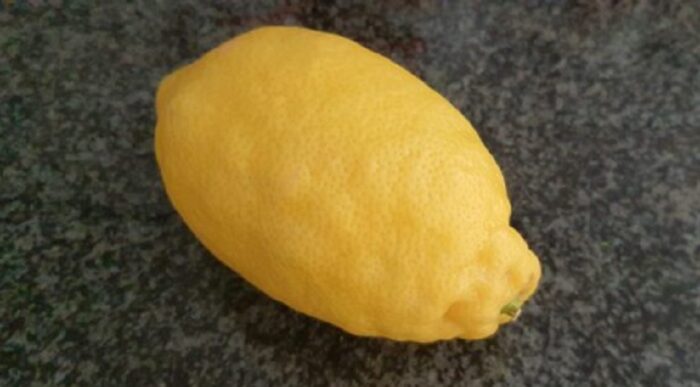
- juice of ¼ lemon or ½ tablespoon lemon concentrate
Instructions
- If you do not like a strong seafood smell, stir in the juice of 1/4 lemon (about 1 tablespoon) or about 1/2 tablespoon lemon concentrate into the marinade. If you enjoy a pronounced shrimp flavor, you can skip the lemon and keep the shrimp taste more intense.

- Rinse the thawed shrimp briefly under cold running water to refresh them and remove any ice crystals.

- Finely chop the fresh dill with a sharp knife, removing any thick stems.

- Peel and finely chop the garlic cloves, or mince them for a more intense flavor.

- Add the chopped dill to the garlic in a small bowl and mix well to create a fragrant herb and garlic mixture.

- Place the shrimp in a mixing bowl, add the garlic‑dill mixture on top, drizzle with 2 tablespoons of olive oil, and season with salt to taste.

- Toss everything well until the shrimp are evenly coated. At this point, you can leave the shrimp to marinate for 10–20 minutes for extra flavor or bake them right away if you are in a hurry.

- Line a baking tray with parchment paper to prevent sticking and make cleanup easier.
- Arrange the shrimp in a single layer on the prepared baking tray, leaving a little space between them.
- Bake the shrimp in a preheated oven at 400–425°F (200–220°C) for up to 10 minutes, just until they turn pink and opaque.
- Carefully remove the baking tray from the oven, using oven mitts, and place it on a heat‑safe surface.
- Your garlicky, fragrant, and juicy shrimp are ready to serve. Enjoy them hot, with fresh bread, rice, a light salad, or your favorite side dish.

Notes
- You can use either fresh or frozen shrimp; just make sure to thaw and dry them well before baking.
- Adjust the amount of garlic to your taste; if you love garlic, feel free to add an extra clove.
- Fresh dill can be replaced with parsley if that is what you have on hand, though the flavor will be slightly different.
- For a bit of heat, add a pinch of red pepper flakes to the garlic and dill mixture.
- Do not overbake the shrimp; start checking at 7–8 minutes, especially if they are small.
- Serve the shrimp immediately after baking, as they taste best hot and freshly cooked.
Nutrition
Nutrition information is automatically calculated, so should only be used as an approximation.