 Carmen
In the northern villages of Moldova, Baba Neagra has been a Sunday-table staple for generations. Unlike a typical layer cake, this dessert starts as a thin, almost liquid batter — thinner than pancake batter — and is transformed by hours of slow baking into a dense, fluffy, custard-like loaf with a deep golden-brown crust. It’s simple, honest baking at its best.
What is Baba Neagra and where does it come from
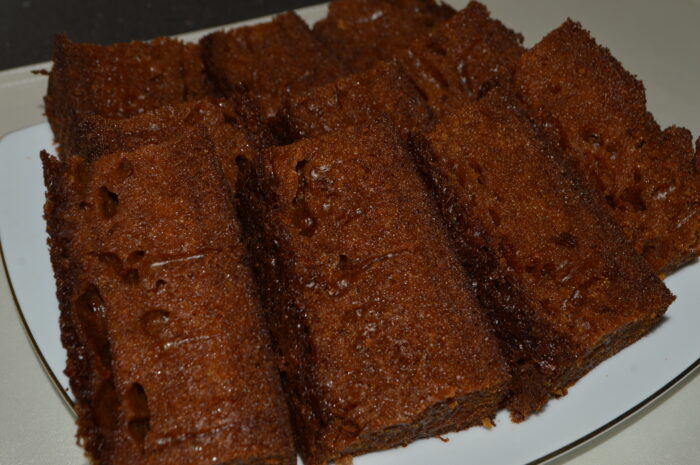
Baba Neagra, literally translated as “black grandmother,” is a traditional dessert originating from the northern regions of Moldova. Unlike Western layer cakes, it’s baked as a single loaf from a thin, custard-like batter that slowly thickens and darkens in the oven over several hours. Its deep brown color comes not from cocoa but from the long, low-temperature baking process, which caramelizes the sugars and eggs. Families in northern Moldova have passed this recipe down for generations, often baking it for holidays and Sunday gatherings. The result is a dense yet surprisingly fluffy cake with a rich, slightly caramelized flavor that sits somewhere between a sponge cake and a baked custard — comforting, simple, and deeply nostalgic for anyone who grew up with it.
What ingredients do you need for a perfect Baba Neagra
The ingredient list is refreshingly short: eggs, flour, baking soda, sugar, oil, milk, and kefir. Ten eggs form the backbone of the batter, giving it structure and that signature custardy texture once baked. All-purpose flour combined with baking soda provides just enough lift without making the cake overly airy — this isn’t meant to rise like a sponge cake. Sunflower oil keeps the crumb moist over the long bake, while milk and kefir add tenderness and a subtle tang that balances the sweetness. If kefir isn’t available in your area, plain buttermilk is a close, easy-to-find substitute that won’t change the final texture. Finally, softened butter for greasing the pan ensures the cake releases cleanly and develops a lightly caramelized edge.
How do you make the batter light and smooth
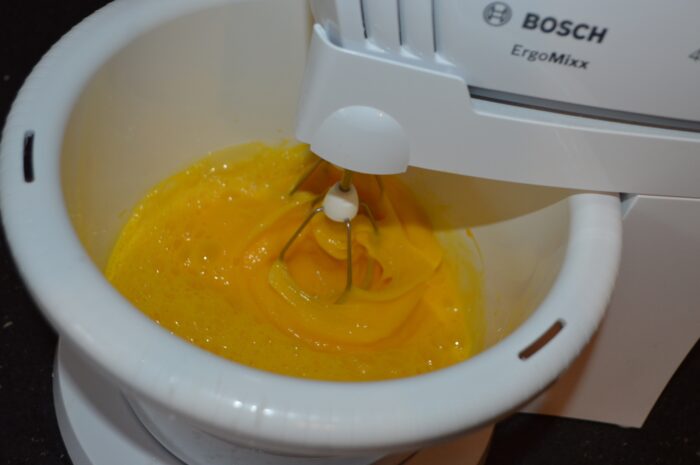
The key to a good Baba Neagra starts with properly beating the eggs. Whipping the ten eggs with a mixer for several minutes until foamy incorporates air into the batter, which helps create the fluffy texture the cake is known for after baking. Once the eggs are ready, the dry ingredients — flour and baking soda — are combined separately, followed by sugar, so everything blends evenly without clumping. The oil is stirred in next, followed by milk and kefir, each whisked thoroughly before adding the next ingredient. This step-by-step layering prevents lumps from forming, especially once the kefir is added, since its thicker consistency can clump if poured in too quickly. Only at the very end are the whipped eggs folded in, preserving as much of that airiness as possible.
Why is the batter so thin compared to a regular cake
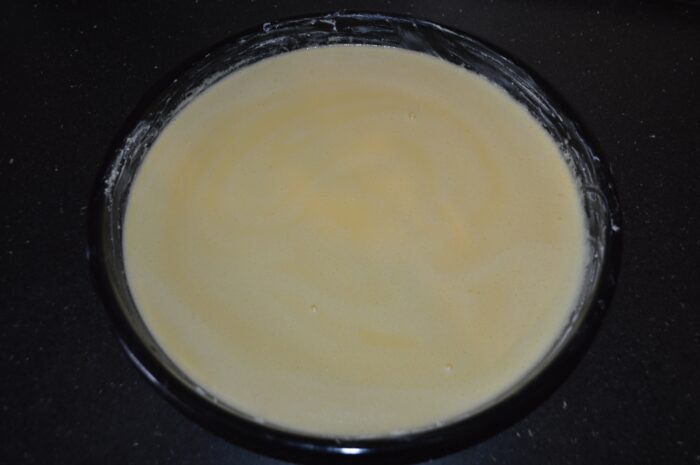
If you’ve never made Baba Neagra before, the batter’s consistency might surprise you — it’s noticeably thinner than pancake batter, almost like a thick milk. This is completely intentional and essential to the recipe’s outcome. Because the cake bakes for four hours at a low, controlled temperature, a thin batter allows heat to penetrate evenly throughout the pan without the exterior burning before the center sets. A thicker batter, like you’d use for a standard cake, would result in an undercooked middle or an overly dry crust by the time the center finishes baking. Trust the process here: the liquid batter is what transforms, through slow heat, into the dense yet tender crumb that makes Baba Neagra unique among baked desserts.
How should you prepare the pan before baking
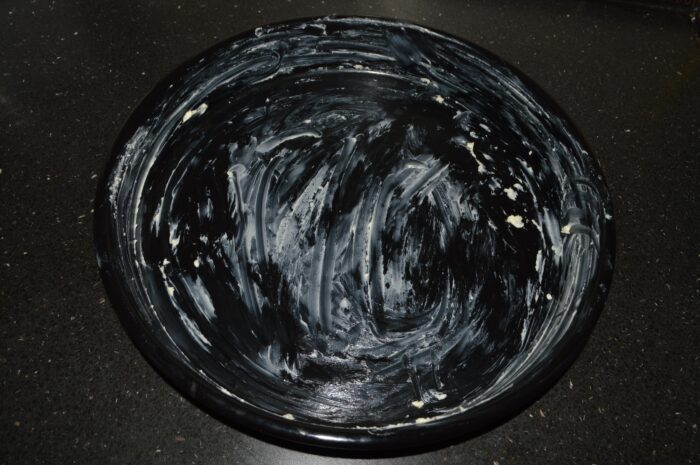
Proper pan preparation is crucial for this cake since it bakes far longer than a typical dessert. Greasing the pan generously with room-temperature butter — rather than cold butter or spray — ensures an even, easy-to-spread coating that helps the cake release cleanly once fully cooled. Room-temperature butter also creates a slightly caramelized crust along the edges as it bakes for hours, adding flavor and preventing sticking. Because the batter is so liquid, make sure your pan has secure, high-enough sides to contain it without leaking. Take care to coat the corners and edges thoroughly, as these areas are most prone to sticking during such an extended bake time.
Why do you bake it at two different temperatures
The two-stage baking method is what makes Baba Neagra distinct from most cakes. Starting at 200°C (390°F) for the first two hours helps set the structure of the thin batter and begins developing the characteristic dark, caramelized top. Afterward, lowering the temperature to 100°C (212°F) for an additional two hours allows the interior to fully cook through slowly without burning the exterior. This gentle finishing stage is what gives the cake its dense, custard-like crumb and deep flavor. Skipping this step-down, or baking at a single high temperature throughout, would likely result in a burnt crust with a raw, unset center — so patience with the oven temperature is non-negotiable here.
Why is slow baking the secret to a fluffy texture
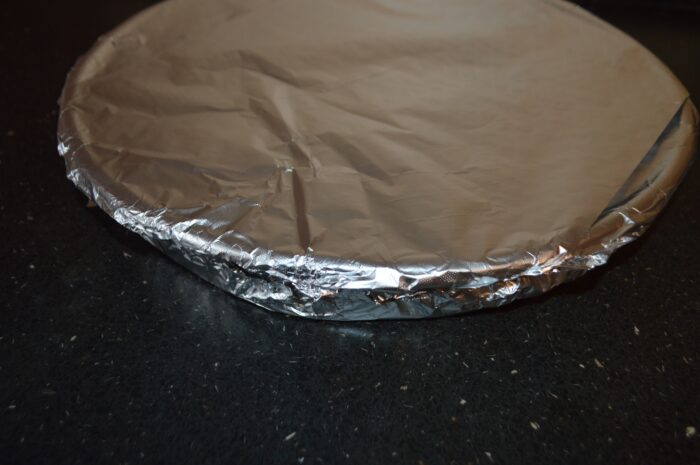
It might seem counterintuitive, but the long four-hour bake is precisely what makes Baba Neagra fluffy rather than dense or rubbery. Covering the pan tightly with aluminum foil — on top, bottom, and around the edges — traps steam and moisture, essentially allowing the cake to bake in its own gentle, humid environment. This slow, moist heat cooks the eggs and batter evenly from edge to center, avoiding the dry, tough texture that can result from rapid high-heat baking. The extended time also lets the sugars caramelize gradually, deepening both the color and flavor. Rushing this step by increasing the temperature or shortening the bake time will compromise the signature soft, almost pudding-like crumb that defines this dessert.
Tips for the perfect Baba Neagra every time
For consistent results, make sure your eggs are well whipped before combining them with the other ingredients, as this directly affects the final fluffiness. Always whisk each liquid ingredient in fully before adding the next to avoid lumps, particularly with kefir. Double-check that your foil covering is airtight on all sides, since gaps can let moisture escape and dry out the cake during its long bake. Resist the urge to open the oven frequently, as temperature fluctuations can affect the slow-cooking process. Finally, allow the cake to cool completely before slicing — cutting it warm can cause it to fall apart, since the structure firms up as it cools.
Ingredients
- 10 large eggs
- 3¼ cups all‑purpose flour
- 1½ tablespoons baking soda
- 1½ cups granulated sugar
- ¾ cup neutral sunflower oil
- 2 cups whole milk room temperature
- 1 cup plain kefir or drinkable yogurt room temperature
- soft unsalted butter for greasing the pan
Instructions
- Crack the eggs into a large bowl.

- Beat the eggs well with a mixer for a few minutes, until light and foamy.
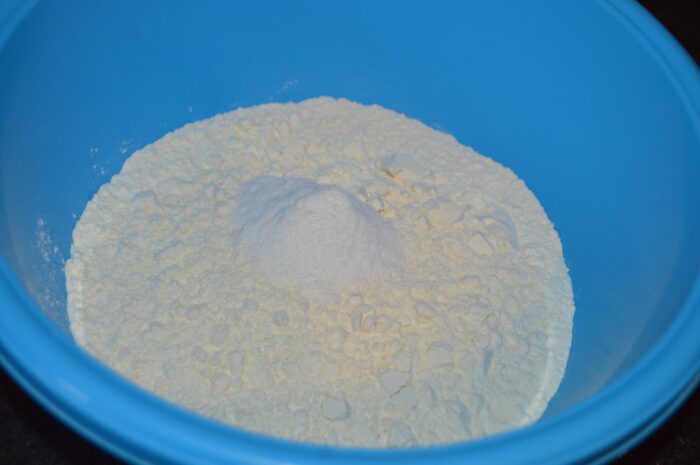
- In a separate large bowl, add the flour and baking soda.
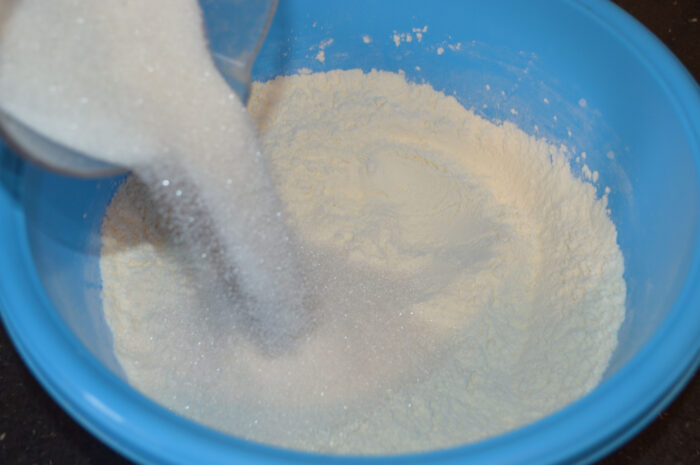
- Add the sugar to the flour mixture.
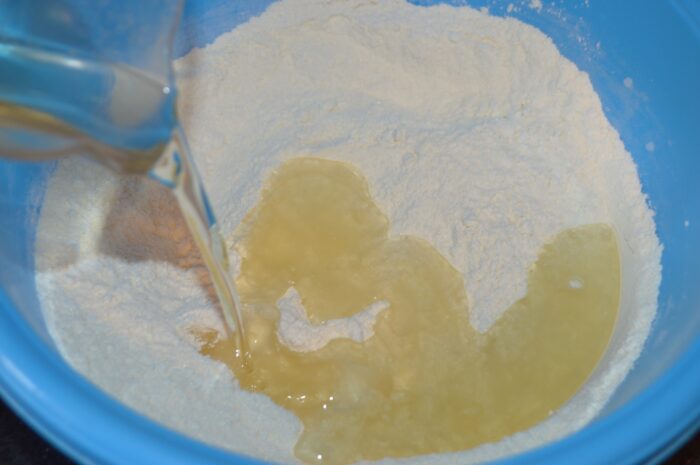
- Pour in the oil and mix briefly until just combined.
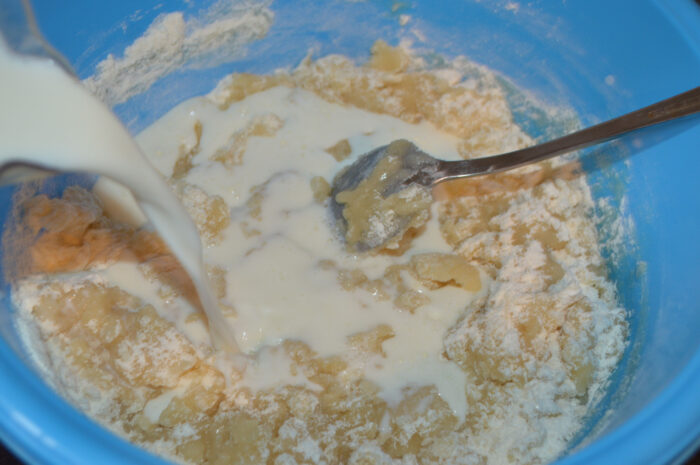
- Add the milk and whisk well until smooth.
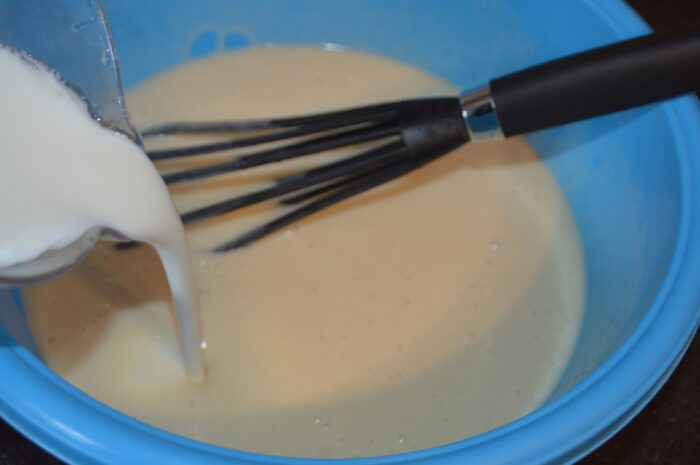
- Pour in the kefir and whisk again, making sure there are no lumps.
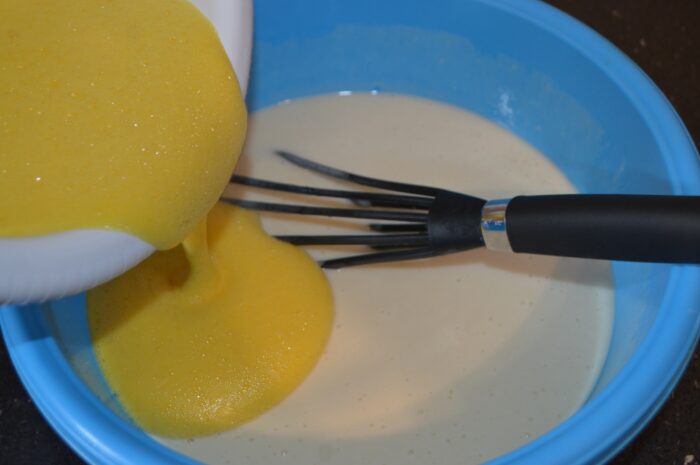
- Finally, add the beaten eggs and mix until everything is fully incorporated.
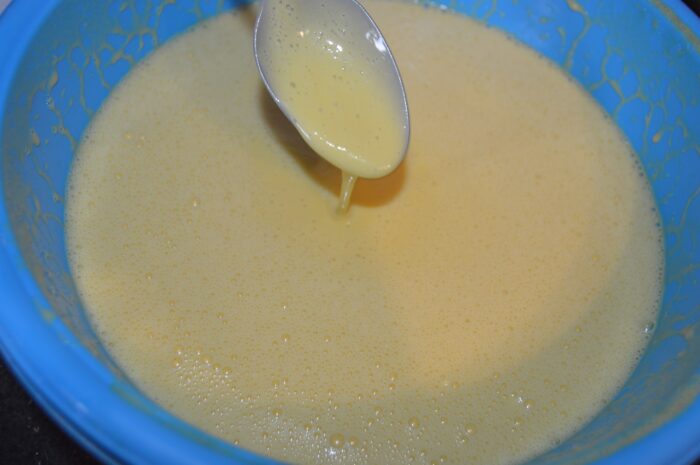
- You should now have a very liquid batter, even thinner than classic pancake batter.
- Grease a deep baking dish or Dutch oven generously with soft butter.
- Pour the batter into the prepared pan.
- Wrap the pan tightly with aluminum foil over the top, underneath and around the sides. Bake in a preheated oven at 390°F (200°C) for 2 hours, then reduce to 210°F (100°C) and bake for another 2 hours. Do not open the oven while it bakes.
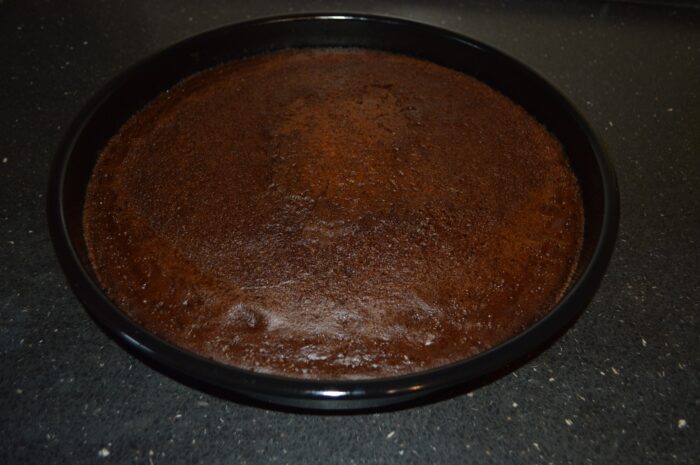
- The black baba is ready when deeply browned, set but slightly jiggly in the center.
- Let it cool completely in the pan, then slice and serve.

Notes
- Use room‑temperature eggs, milk and kefir so the batter mixes evenly and bakes more predictably.
- The batter should be very thin; resist adding extra flour or the cake may turn dense.
- Keep the oven door closed the entire time to avoid temperature drops that can affect the texture.
- If your oven runs hot, you can slightly reduce the initial temperature to prevent over‑browning.
- Let the baba cool completely before slicing so it holds its shape and the crumb sets properly.
- Serve plain or with simple toppings like condensed milk, caramel sauce or a scoop of vanilla ice cream.
Nutrition
Nutrition information is automatically calculated, so should only be used as an approximation.